The best way to relocate your trampoline when moving house
Moving house and relocating your trampoline
Moving house is an epic project and takes a lot of planning and organizing. If you have decided to take your trampoline to your new home this article could save you some time and money.
The main issue when moving a trampoline is that soon after a move the mat will give way; either tearing at the edges or through the middle in less time than had it not been relocated. With our tips, you can at least minimize this occurring and also be aware of the risk.
The important part is to disassemble the trampoline in a manner that enables you to easily rebuild it as close as possible to its original configuration.

Before you get started
- Have a set of instructions handy when you disassemble and reassemble the trampoline - All our Manuals can be found here
- Boxes handy and bags for the springs or any other smaller pieces of hardware like clamps.
- Give the trampoline a full maintenance check before you start
- This is a good opportunity to ensure all components are in good order
- Some components could be best left in the bin - Use this simple checklist
How to start disassembling your trampoline
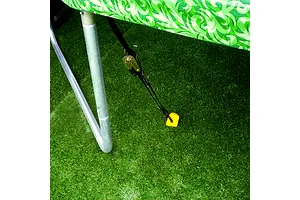
- Undo all the net elastics and any ties that might be under the trampoline for the padding too.
- If you have space, leaving the net poles complete will save time when you reassemble
- Unbolt the net poles, and lay them one by one down onto the trampoline; leave the net and foams in place (assess if this is possible for your trampoline as some styles won't allow this technique)
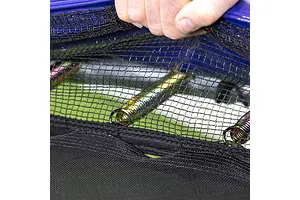
- Next, remove the pads - give them a wash (just with warm water and a broom-like brush - do note - detergents leave marks) so when you put them back on at the new house they look clean and fresh
This is where you can save money
- With the trampoline disassembled down to just the frame, springs, and mat, this next part is where you can save time and money
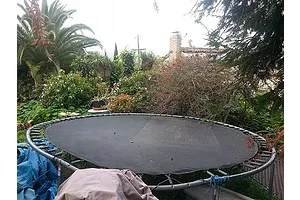
- As a side note, the 6-10ft round trampoline and 7ft x 10ft trampoline frames can be moved with the mat and springs left on the frame (just pop on a trailer and secure - ideal if not moving too far!)
STOP - Read before attacking the frame...
- Before starting on the springs and frame, grab a permanent marker and number all the frame pieces, including the leg pieces to match the "1” at your starting point so you know where the first spring should line up with the mat and frame
- Tie something on the "V" hook on the mat so you know easily where the starting point is on the mat that will line up with the first frame piece
- When removing the mat put the springs into bags of how many springs matches the frame piece number. Eg frame piece 1 would match the bag of 8 springs labeled 1
- Once the mat and springs have been removed then you can pull the frame apart. This may require some gentle persuasion from a rubber mallet if no grease was used to lubricate the joints at the time of assembly
Prefer someone else to disassemble and or reassemble the trampoline for you - check this link out
Have you purchased secondhand?
- Double check the size before you pull the trampoline apart or pay - sometimes people accidentally advertise the sizes incorrectly.
- With a GeeTramp also ask the seller what mat and spring combination it is.
- As models change over time; enquire from the seller and note down the name the trampoline was ordered under.
- Having a name when ordering new parts makes it easier to to match and save you needing to do extra measurinng and checking.
Boxing up for the move
- Box all the parts up as best you can make sure there are no metal pieces rubbing on the net and padding - best to keep them both together and away from the frame pieces and springs
- You need to make sure that no pieces are left behind; check in the grass.
- If you have had the trampoline for more than 3 years, it might be a good idea to just replace the jumping mat (link to round trampoline mat calculator if you choose that option)
- Another piece of equipment that you may consider purchasing before reassembling is the net pole clamps as the threads on the joining bolts may easily be cross-threaded due to a buildup of corrosion or rust
- The reason for care with removing the mat and springs and labeling the frame is because trampoline mats once removed and replaced onto a trampoline frame with springs that aren't matching the original set up often cause issues due to the variances in tension and pull. The mat may tear within a short time after reassembling it (within 6 months). Or be rippled through the mat, therefore making the bounce “soggy” (a term used by kids to describe this problem). If you have had the trampoline for more than 3 years, it might be a good idea to just replace the jumping mat. Moving house we know can be a hassle. Putting the trampoline back together for your kids should be a straightforward job with the aim to the kids back outside and bouncing! If you have any more questions please call us on (03) 5292 1100 or reach us here.
Link to all Rectangle GeeTramp Parts
Link to all Round GeeTramp Parts
Photo - Flickr - American Advisors Group
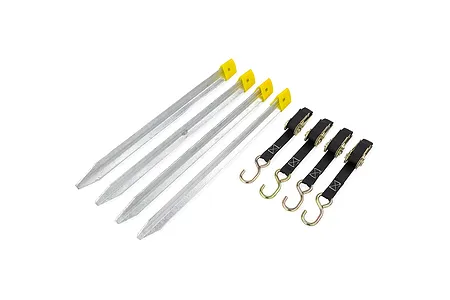
Related Products
$77
GeeTramp Anchor Kit - Large1 out of 5 stars
2 out of 5 stars
3 out of 5 stars
4 out of 5 stars
5 out of 5 stars
30 reviews
$167
GeeTramp Trampoline Basketball Set - Generic Fitment1 out of 5 stars
2 out of 5 stars
3 out of 5 stars
4 out of 5 stars
5 out of 5 stars
7 reviews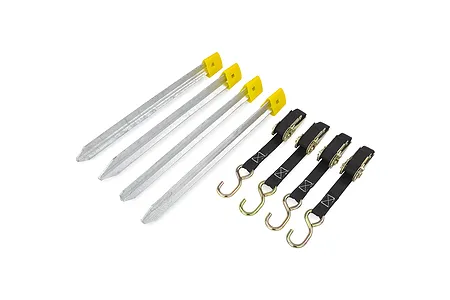
$67
GeeTramp Anchor Kit - Medium1 out of 5 stars
2 out of 5 stars
3 out of 5 stars
4 out of 5 stars
5 out of 5 stars
18 reviews
$167
GeeTramp Curve Basketball Set - Q51 out of 5 stars
2 out of 5 stars
3 out of 5 stars
4 out of 5 stars
5 out of 5 stars
4 reviews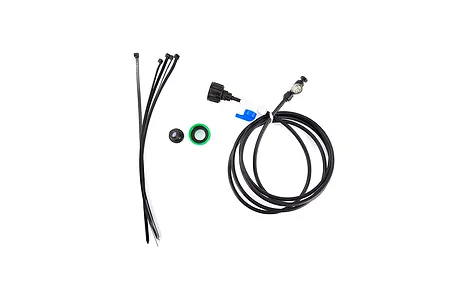
$47
GeeTramp Water Spray Kit1 out of 5 stars
2 out of 5 stars
3 out of 5 stars
4 out of 5 stars
5 out of 5 stars
12 reviews