How to make a leaf catcher for your trampoline
How to make a leaf catcher for your trampoline
The beautiful season of Autumn comes around quickly. All the Christmas festivities and summer soirees give way to cooler days of stunning streams of leaves falling from the incredible, deciduous trees we have here in Australia.
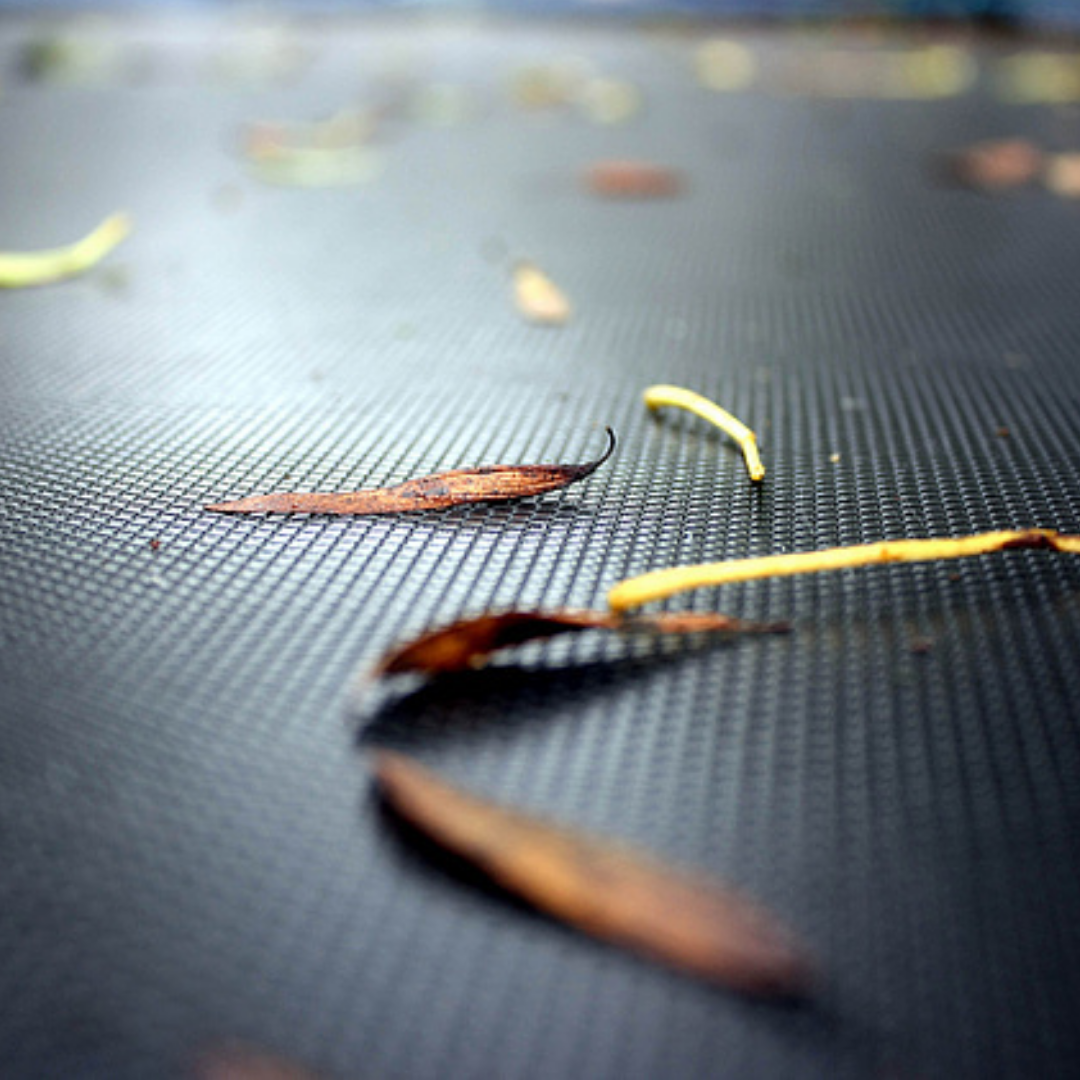
Despite their pretty colours, leaves can create crazy canopies that cover every outdoor surface! But, don’t let natures boundless bounty ruin your trampoline fun! We understand that when the leaves get damp it can be strenuous work trying to remove them- especially with trampolines that have an inside net design and zipless entrance for example.
Before ordering any parts or necessary materials to make your catcher, you ought to consider a couple factors, such as:
- How big are the leaves?
- How high do your kids jump?
 The two work hand in hand, if you have big leaves with little kids who bounce more than fly, a fruit tree net could be a great option. However, if you have smaller leaves a shade cloth may work much better at keeping them at bay. Just make sure you measure and secure it in a way which older kids can take it off with ease as they can jump higher than the height of the net.
We have suggested netting or shade cloth as they both let water seep / flow through. You don’t want to go for anything too heavy duty or tarp like because not only will they blow in the wind but also will allow water to pool in the middle in a downpour. This could then cause your poles to collapse inward with the weight of storm water.
In order to make your leaf catcher you’ll need:
- Shade cloth - pre measure your trampoline before going shopping
- Brass eyelets - one for each trampoline net pole
- Carabiners - one for each trampoline net pole
- Bungee type cord 0-25cm per net pole.
Making your trampoline leaf catcher
- Measure the diameter or length and width of your trampoline to ensure a snug fit. Go off your matting and framework as your guide. If the netting is closest to the mat then measure your mat diameter. Whereas, if your netting is sitting by the frame then measure frame edge to frame edge across the diameter.
- Cut the shade cloth to size.
- measure the spacing between net poles and fit the brass eyelets to align with that spacing in about 2-3cm from the edge of the cloth. (good idea to have a double thickness of material at the brass eyelet to minimise tearing in wind
- with all brass eylets fitted fit cable ties / around your trampoline net poles.
- attach bungee cord through the bungee
- secure carabeanas through the brass eyelets
- take the leaf cover onto the trampoline and hook a carabeana through the bungee. (the bungee will give flixibility in the wind)
- adjust the length of your bungee cords if needed.
NOTE OF CAUTION - be aware of windy weather conditions; as a leaf cover / shade cover privides even greater surface tension for the wind to get hold of and toss your trampoline higher and further than you would expect.
Clearing leaf catcher before use
- To give your leaf catcher a clean off it can be as simple as standing on the trampoline and use the head of a broom to nudge the centre of the net causing the leaves to tumble to the ground. If your kids are older and will need to remove the leaf catcher for jumping, they unclip once it is clear of leaves.
Cleaning leaf catcher
- To clean your catcher, pull it down and give it a light hosing.
It’s such a fantastic addition to your trampoline because it’s cheap, easy to construct and clean and it means your trampoline will be leaf free. Should you have any further questions or require any other advice don’t hesitate to get in touch with us at the Web and Warehouse. We’re always on hand to offer maintenance advice and recommend top gear and parts for your trampoline!
From all our team, we wish you many fun filled trampoline afternoons no matter the season!
Related Products

$699 was $899 SAVE $200.00
GeeTramp Curve 12ft Round Trampoline - Light Blue1 out of 5 stars
2 out of 5 stars
3 out of 5 stars
4 out of 5 stars
5 out of 5 stars
12 reviews
$1,099
GeeTramp Force 7ft x 10ft Rectangle Trampoline1 out of 5 stars
2 out of 5 stars
3 out of 5 stars
4 out of 5 stars
5 out of 5 stars
24 reviews
$1,249
GeeTramp Force 8ft x 12ft Rectangle Trampoline - Standard1 out of 5 stars
2 out of 5 stars
3 out of 5 stars
4 out of 5 stars
5 out of 5 stars
44 reviews
$1,399
GeeTramp Force 8ft x 12ft Rectangle Trampoline - High Bounce1 out of 5 stars
2 out of 5 stars
3 out of 5 stars
4 out of 5 stars
5 out of 5 stars
43 reviews